Vapor World Over The Mind Projections Tier List
Rank dream abilities for Seeds, stealth rooms, and traversal.
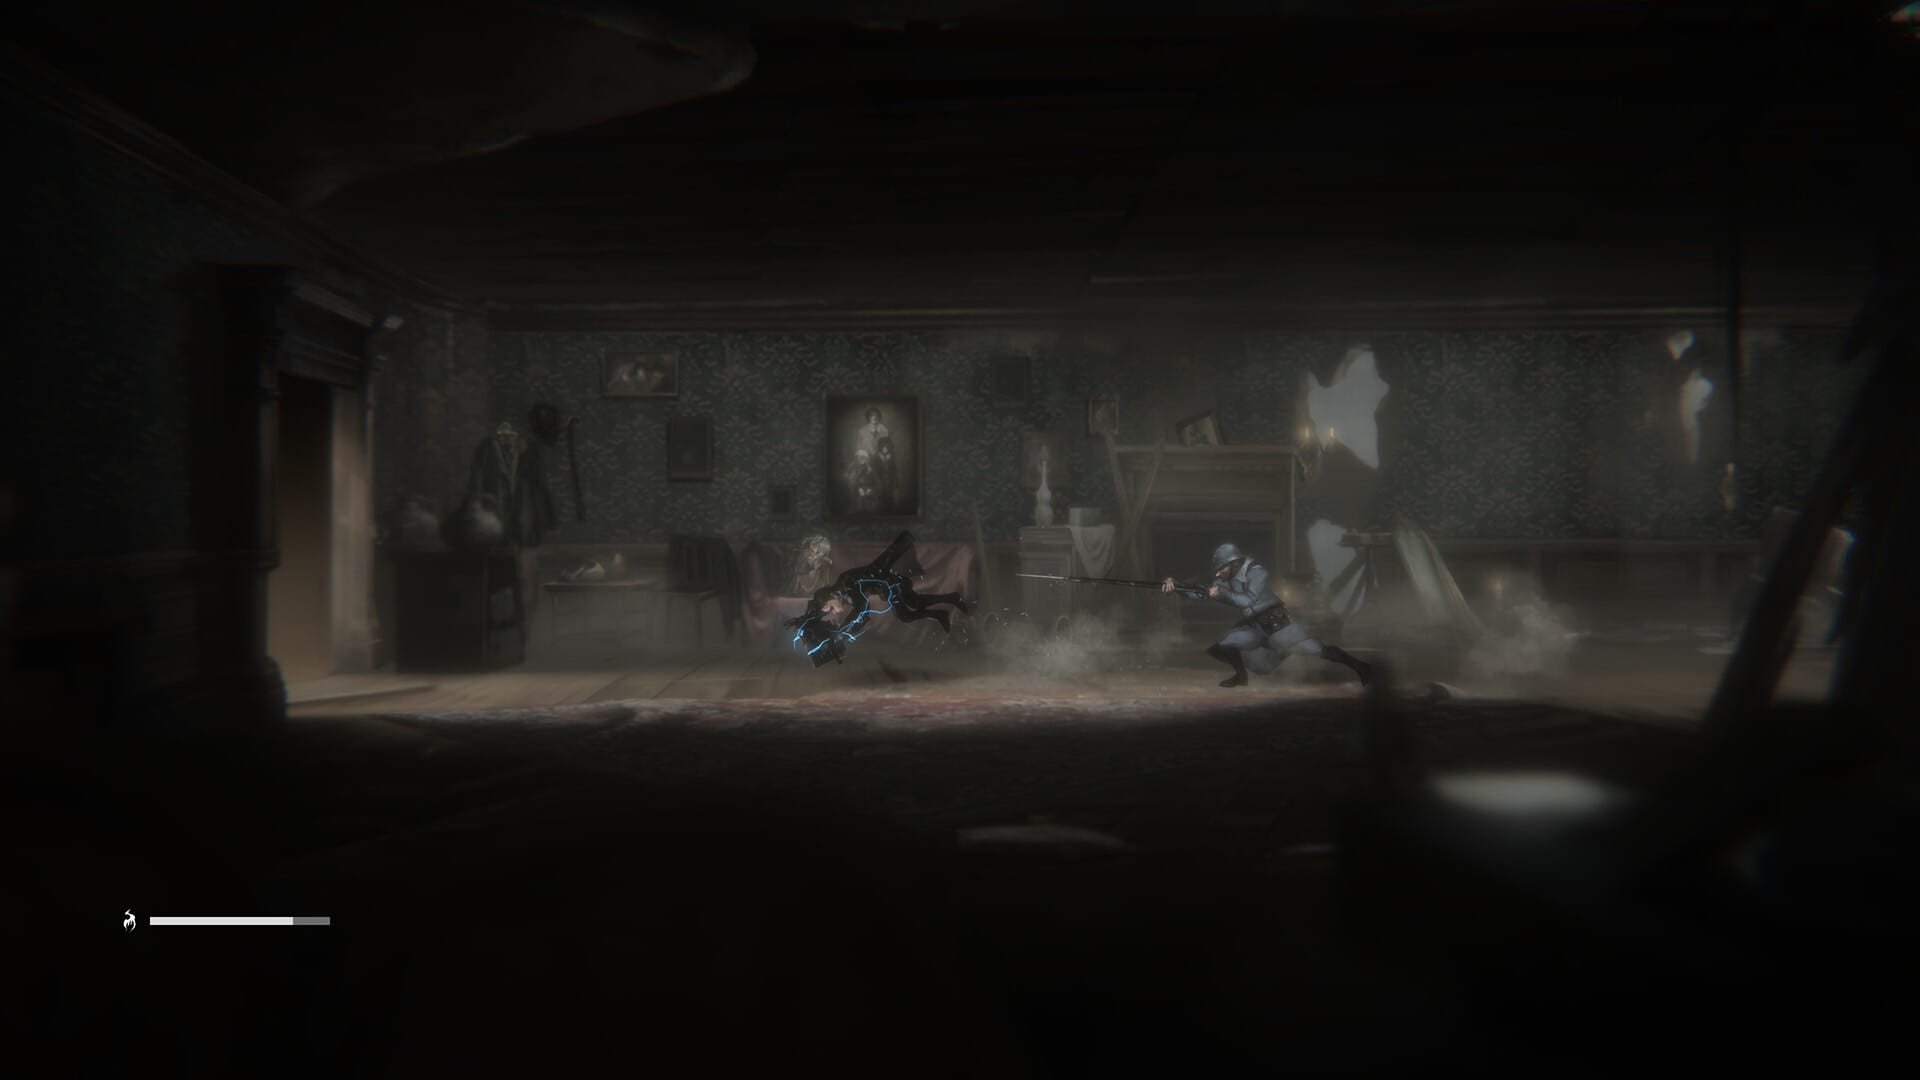
This Projections tier list ranks Early Access tools by role for Vapor World: Over The Mind. Because the live kit will expand toward full release, ranks emphasize reliability in Prologue through early Episode 2 rather than theoretical endgame.
Ranking legend
- S: near-universal value for Seeds and exploration
- A: excellent in their niche
- B: solid situational picks
- C: learn them, but swap when better options arrive
Exact Projection names may differ in your build localization—match by effect: parry extenders, blinds, mobility, burst punish.
S-tier priorities
Parry-extend tools that turn a single deflection into a full break belong at the top. Blind or soft crowd-control tools that save multi-Trauma rooms sit beside them. A mobility Projection that opens ladders or soft locks also earns S if it gates progress.
A-tier picks
High burst punish tools shine on Seed phase transitions but punish greedy timing. Specialized anti-projectile or anti-grab answers belong here when a boss demands them. Keep one A-tier experiment slot in your loadout.
B and C tiers
Situational damage over time, redundant mobility once you have a better verb, or high-risk tools that leave long recovery belong lower. Still test them—some C picks become A in specific rooms.
Role matrix
| Role | Wanted effect | Pair with |
|---|---|---|
| Anchor | Stable parry extend | Core deflection skill |
| Safety | Blind / distract | Stealth routes |
| Punish | Burst on break | Seed phases |
| Traverse | Mobility / breakables | Backtracking |
How this list was built
We weigh official descriptions of Projection combos, demo feedback themes (fairness, stealth reliability, movement overhaul), and souls-like platformer priorities: survive first, optimize later. When ALIVE Inc. ships balance patches, expect reshuffles—follow patch notes.
Building from the list
Do not equip four S-tier greed tools. Combine one Anchor, one Safety, and optional Punish as described in best builds. Learn acquisition context in the Projections guide. Practice timing via how to parry. Boss-specific swaps live in the boss guide.
Exploration note
Some high-rank tools are optional. Use the Early Access walkthrough and EA checklist so you do not miss them behind breakables.
Disclaimer
This is a fan ranking for an evolving Early Access game. Your latency, input device, and skill profile matter more than a letter grade. If a B-tier tool clicks with your hands, main it.
Updating your personal sheet
Maintain three columns: official-ish rank, personal rank, notes. Personal rank wins on your machine. When a patch lands, mark every S-tier tool for retest within twenty-four hours.
Role conflicts
Two mobility tools rarely stack value. Two burst tools often stack death. Prefer orthogonal roles as shown in the matrix above and in best builds.
How ranks are meant to be read
S-tier means consistent value across Early Access rooms, not “never unequip.” A-tier tools shine in niches—crowds, traversal, or specific Seeds. Lower ranks may still win a single fight. Re-rank after every combat patch.
Evidence over vibes
Promote a Projection only after it saves you twice in different rooms. Demote tools that look flashy in trailers but lose to basic deflects. Cross-check roles in best builds and unlock paths in the Projections guide.
Demo bias
Festival rankings expire when movement and fairness patches land. Start fresh with the demo guide lessons, then rebuild your personal board.
Frequently Asked Questions
Quick answers for Early Access players and newcomers.
Will ranks change after launch patches?
Yes. Revisit this page after combat balance updates.
Should I only use S-tier?
No. Build a balanced loadout with anchor and safety tools.